Running Jupyter Notebooks Remotely with Slurm#
Notebooks can be launched locally and access local file systems, or they can be launched on a remote machine, which provides access to a user's files on the remote system. In the latter case, the notebooks are launched via a process that creates a unique URL that is composed of the hostname plus an available port (chosen by the jupyter application) plus a one-time token. The user obtains this URL and enters it into a local web browser, where the notebook is available as long as the process on the remote machine is up and running. By default, these notebooks are not secure, and potentially expose a users local files to unwanted users.
You have to keep these concepts in mind:
Do Not Run Jupyter on the Login Nodes
The login or head node of each cluster is a resource that is shared by many users. Running Jupyter on one of these nodes may adversely affect other users. Please use one of the approaches described on this page to carry out your work.
Internet is Not Available on Compute Nodes
Jupyter sessions run on the compute nodes which do not have Internet access. This means that you will not be able to download files, clone a repo from GitHub, install packages, etc. You will need to perform these operations on the login nodes. Any files that you download while on the login node will be available on the compute nodes during your session.
You can't directly access the compute nodes
For security reasons, the compute nodes are not directly accessible. However, they can be accessed while you are running a job from any login nodes.
You just have to access a login node first and then SSH to the node where your application is running.
This is not the multi-user server you are looking for
This document describes how you can run a public server with a single user. This should only be done by someone who wants remote access to their personal account. Even so, doing this requires a thorough understanding of the set-ups limitations and security implications. If you allow multiple users to access a notebook server as it is described in this document, their commands may collide, clobber and overwrite each other.
If you want a multi-user server, the official solution is JupyterHub. To use JupyterHub, you need a Unix server (typically Linux) running somewhere that is accessible to your users on a network. This may run over the public internet, but doing so introduces additional security concerns.
Create a conda environment#
First of all we have to create a conda environment. You can see this steps here.
Remember:
-
Use login nodes to create python/conda environment. They only have internet access.
$ module spider miniconda
$ module load Miniconda3/4.9.2
$ conda create --name jupyter-env [python=3.9.15] or
$ conda create --prefix /home/user/data/allenvironments/my_environtment [python=3.9.15]
Collecting package metadata (current_repodata.json): done
Solving environment: done
….
# To activate this environment, use
#     $ conda activate jupyter-env
# To deactivate an active environment, use
#     $ conda deactivate
- Install neccesary packages for jupyter
conda activate jupyter-env
conda install jupyter ipykernel matplotlib ipywidgets ipympl --channel conda-forge -y
Running Jupyter Notebokk on a Compute Node via salloc#
Larger tasks can be run on one of the compute nodes by requesting an interactive session using salloc.
First things first: start up a screen session (or tmux if you prefer). If I am looking to have some program running for longer than I am wanting to keep a terminal window open – screen or tmux are great options as they keep your session from timing out on remote machines.
screen -S jupyter
salloc --nodes=1 --partition batch --ntasks=1 --mem=20G --time=12:00:00
# or salloc -N 1 -p batch
# or srun -p batch --pty bash

conda activate jupyter-env
You should now see that your terminal prompt has changed to something like the following, indicating that you are logged onto the interactive node and working within the conda-env environment:
Once a compute node has been allocated, starts Jupyter and then connects to it. On the remote machine type:
The notebooks are launched via a process that creates a unique URL that is composed of ip and port 8889 plus a one-time token. The user obtains this URL and enters it into a local web browser, where the notebook is available as long as the process on the remote machine is up and running.
[I 13:22:01.198 NotebookApp] Writing notebook server cookie secret to /home/youruser/.local/share/jupyter/runtime/notebook_cookie_secret
[I 13:22:12.448 NotebookApp] Serving notebooks from local directory: /home/youruser
[I 13:22:12.448 NotebookApp] Jupyter Notebook 6.5.2 is running at:
[I 13:22:12.448 NotebookApp] http://127.0.0.1:8889/?token=36229e08e0944c8d1b4df0174e23a7ee11e278ccbed5f967
[I 13:22:12.448 NotebookApp] or http://127.0.0.1:8889/?token=36229e08e0944c8d1b4df0174e23a7ee11e278ccbed5f967
[I 13:22:12.448 NotebookApp] Use Control-C to stop this server and shut down all kernels (twice to skip confirmation). [C 13:22:12.568 NotebookApp]
To access the notebook, open this file in a browser:
file:///home/youruser/.local/share/jupyter/runtime/nbserver-4762-open.html
Or copy and paste one of these URLs:
http://127.0.0.1:8889/?token=36229e08e0944c8d1b4df0174e23a7ee11e278ccbed5f967
or http://127.0.0.1:8889/?token=36229e08e0944c8d1b4df0174e23a7ee11e278ccbed5f967
!!! tip Important!
Note, the default is for Jupyter Notebook to automatically open a browser – but *we can’t do that on a compute node by security reasons , so we bypass that function with the _--no-browser_* flag.
Tip
Note that we selected the Linux port 8889 to connect to the notebook. If you don't specify the port, it will default to port 8888 but sometimes this port can be already in use either on the remote machine or the local one (i.e., your laptop). If the port you selected is unavailable, you will get an error message, in which case you should just pick another one. It is best to keep it greater than 1024. Consider starting with 8888 and increment by 1 if it fails, e.g., try 8888, 8889, 8890 and so on. If you are running on a different port then substitute your port number for 8889.
By default, Jupyter Notebooks are not secure, and potentially expose a users local files to unwanted users.
Running notebooks in the usual way use the insecure HTTP connections. In this tutorial, we present a guide for running notebooks more securely.
How to create a SSH Tunnel#
For security reason we recommend to use ssh tunneling to securely connect to the notebook server. You will create an ssh connection between your local host and the notebook port on the remote, interactive node. When you connect your browser to the notebook service, this will channel all communications via the SSH connection, which is secure and encrypted.

Start a second terminal session on your local machine, connect to any login node and setup SSH tunnel as follow:
In login node write:
You could see this message and write yes.
The authenticity of host 'node1710-1.hpc.iter.es (10.0.17.37)' can't be established.
ECDSA key fingerprint is SHA256:LqRpSE90hft08tO47V2nx7jbIsUOX42SeKAgEVBPODo.

Are you sure you want to continue connecting (yes/no/[fingerprint])? yes

Warning: Permanently added 'node1710-1.hpc.iter.es' (ECDSA) to the list of known hosts.
Start a thirds terminal session on your local machine (e.g., laptop) and setup the tunnel as follows:
-N Do not execute a remote command. This is useful for just forwarding ports.
-L Specifies that the given port on the local (client) host is to be forwarded to the given host and port on the remote side.
You can use the DNS of the node or the ip
Change nodeXXXX-X.hpc.iter.es by node ip.
Finally, copy and paste the address in your favorite browser and replace the “?token=x” part of the URL with your token
We recommend reading the section A few importan notes below.

Running Jupiter Notebook on a Compute Node via sbatch#
The second way of running Jupyter on the cluster is by submitting a job via sbatch that launches Jupyter on the compute node.
In order to do this we need a submission script like the following called jupyter.sh:
#!/bin/bash
#SBATCH --nodes=1
#SBATCH --ntasks=1
#SBATCH --cpus-per-task=1
#SBATCH --mem=20G
#SBATCH --partition=batch
#SBATCH --constrains=sandy
#SBATCH --time=01:00:00
#SBATCH --job-name=jupyter-notebook
#SBATCH --output=jupyter-notebook-%j.out
#SBATCH --error=jupyter-notebook-%j.err
##########################################################
# Enable modules profile

# Enable conda on bash console
eval "$(conda shell.bash hook)"
# load modules or conda environments here
module load  Miniconda3/4.9.2
conda activate jupyter-env

# get tunneling info
XDG_RUNTIME_DIR=""
node=$(hostname -s)
user=$(whoami)
cluster="teide-hpc"
port=8889

# print tunneling instructions jupyter-log
echo -e "
Command to create ssh tunnel from login node to compute node:
ssh -N -L localhost:${port}:localhost:${port} ${user}@nodeXXXX-Y.hpc.iter.es

Command to create ssh tunnel from your local machine to any login node:
ssh -N -L localhost:${port}:localhost:${port} ${user}@login1(2).hpc.iter.es

Use a Browser on your local machine to go to:
localhost:${port}  (prefix w/ https:// if using password)
"

# Run Jupyter
jupyter-notebook --no-browser --port=${port} --ip=127.0.0.1
This job launches Jupyter on the allocated compute node and we can access it through an ssh tunnel as we did in the previous section.
First, from the head node, we submit the job to the queue:
Once the job is running, a log file will be created that is called jupyter-notebook-
In order to connect to Jupyter that is running on the compute node, setup a tunnel between compute node and login node as:
and between your local machine and login node as follows:
In order to access Jupyter Notebook, navigate to http://localhost:8889/
A few important notes#
Set a strong password in Jupyter Notebook
Before you connect to a remote server with jupyter notebook make sure that you have configured jupyter with password information. You can do this by editing the jupyter-notebook_config.json which is usually located in ~/.jupyter or by typing:
Enter password:
Verify password:
[NotebookPasswordApp] Wrote hashed password to /home/yourUser/.jupyter/jupyter_notebook_config.json

How to change the Jupyter Notebook start-up directory
By default Jupyter use your home as default start-up directory but It is possible to change it by two methods: * Using –notebook-dir argument:
* Change the default directory by generating a config file- Type the command below to create a config folder.
- Open the ~/.jupyter/jupyter_notebook_config.py* file.
- Search for the comment, The directory to use for notebooks and kernels
- Uncomment and replace the following property in file with your prefer directory.
- Re-run Jupyter Notebook again.
Make sure you shutdown your Jupyter Notebook when you are done
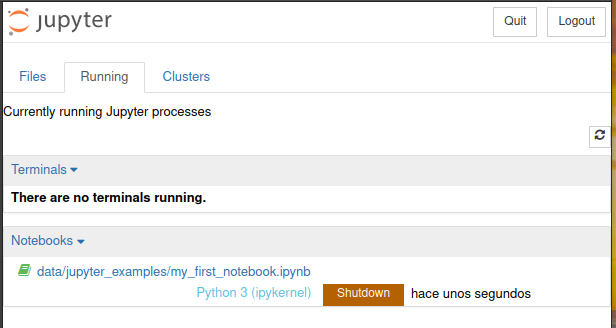
To do this, if you are using salloc mode you can log back onto the screen session you started earlier where the jupyter notebook is running and use ctrl-C should shutdown the jupyter notebook and exit to close the session with the node.
If you are using batch mode you can use the command scancel
Jupyter Notebook Basics#
In the following link you can find a description of Jupyter Notebooks:
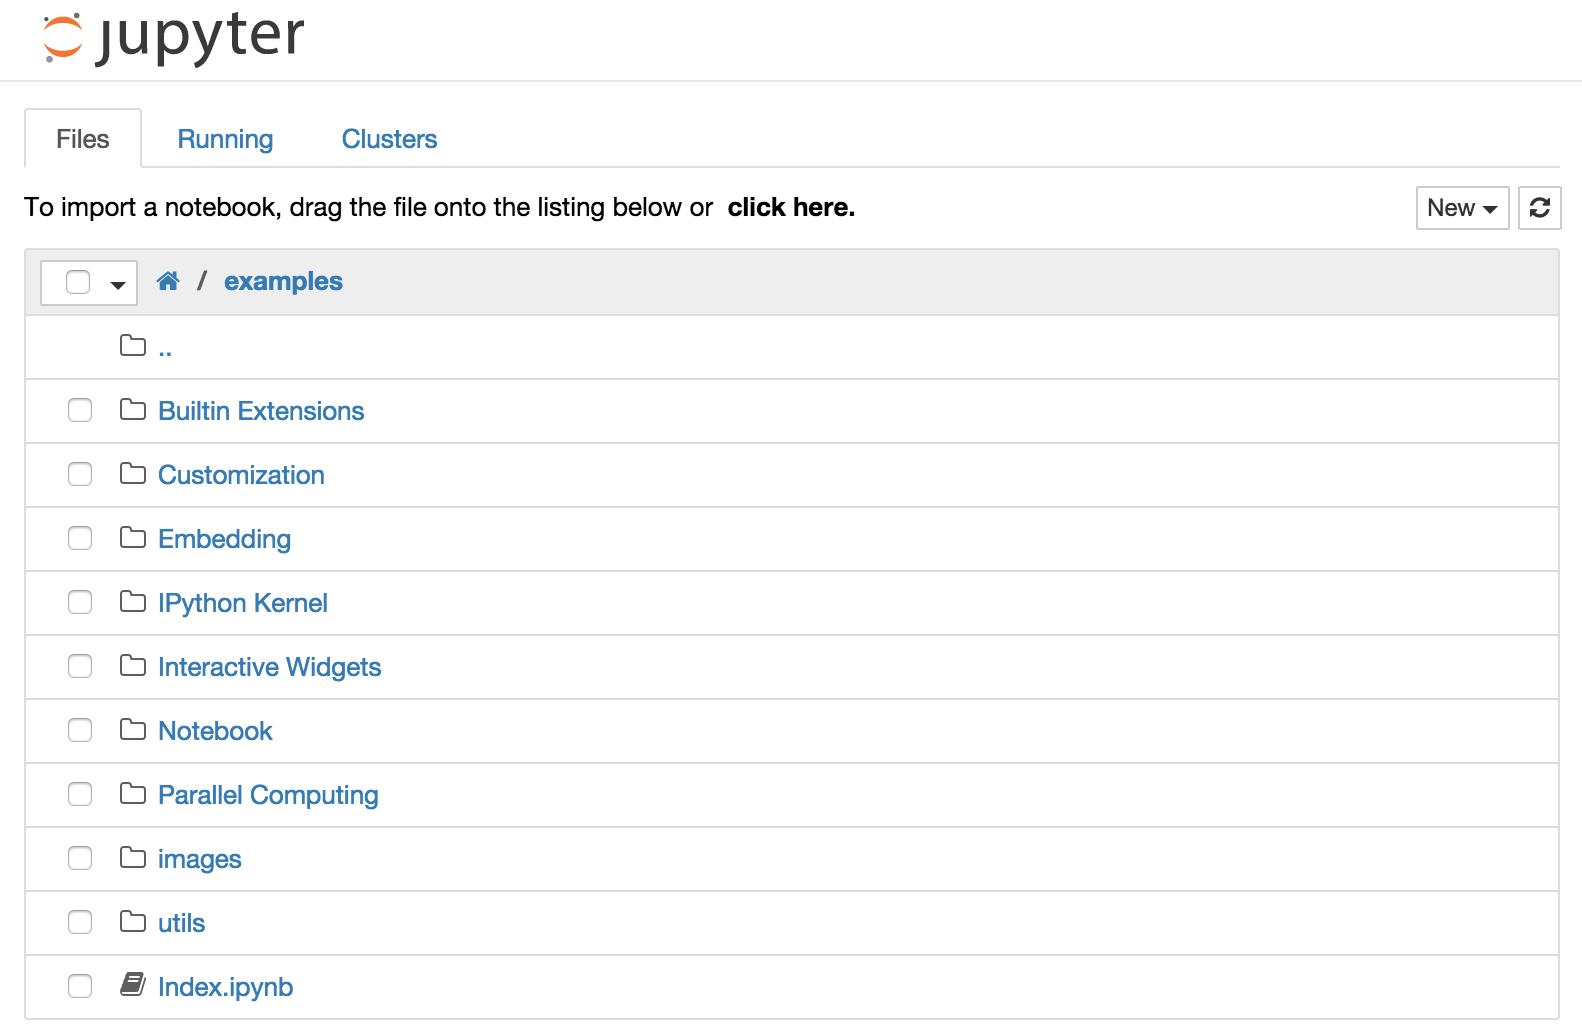
The Notebook dashboard#

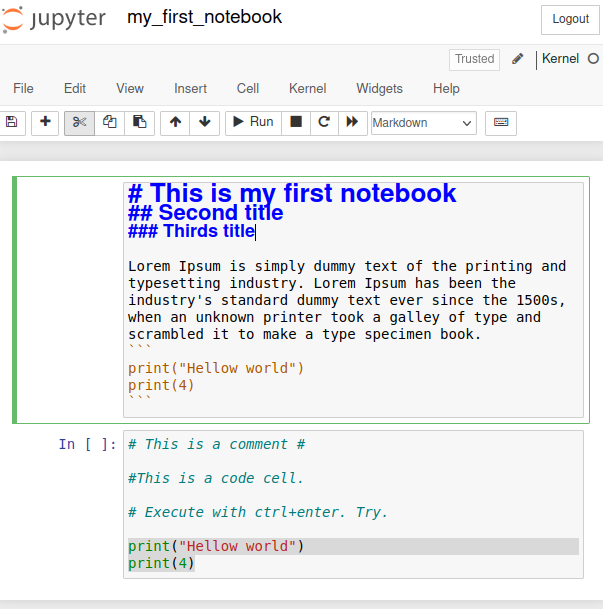
Basic example#

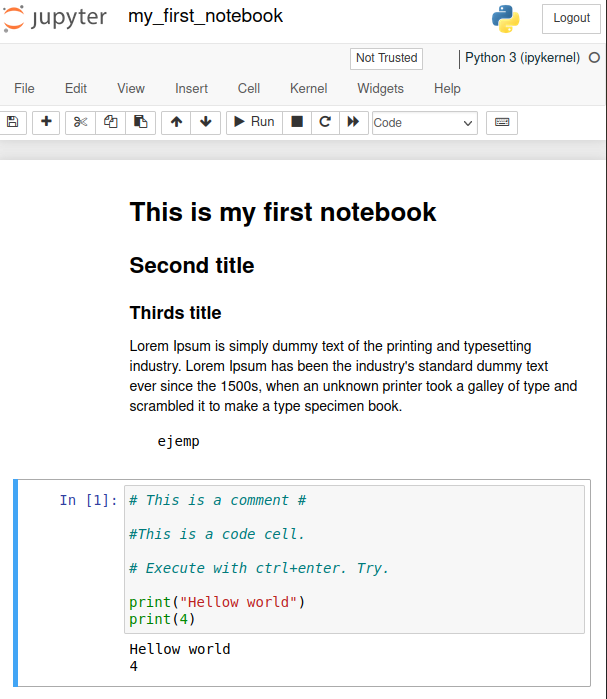
Run your example#

