OpenVPN for macOS#
To use OpenVPN on macOS we don't have an official client, so we have to use a third-party application, Tunnelblick, which is the most recommended option to open an OpenVPN connection on macOS.
This manual has been made using macOS Ventura and Tunnelblick in its stable version v3.8.7a.
Installation is not explained in this manual.
Connecting to the VPN using Tunnelblick#
Once the software is installed, we open it to add a new VPN connection:
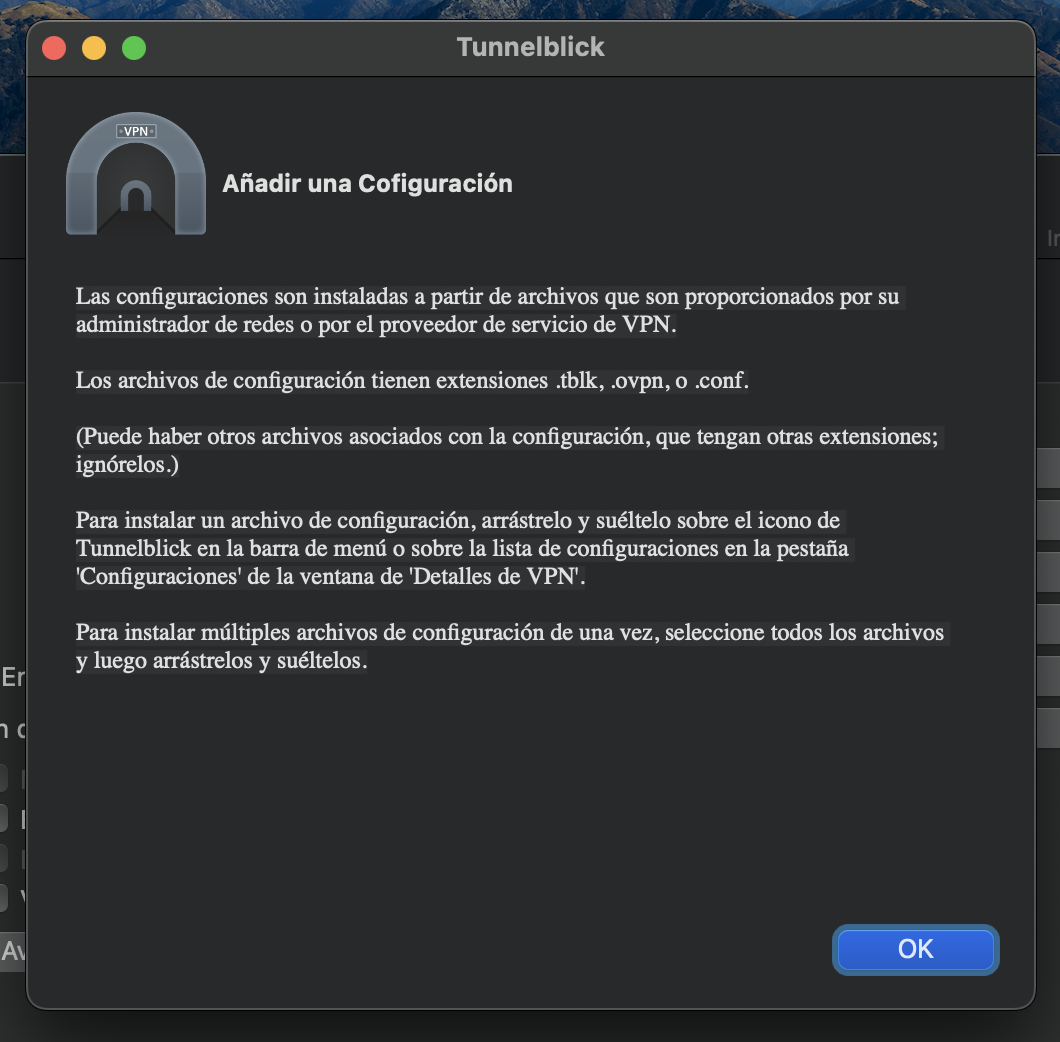
To add a new connection, click on the "+" symbol in the lower left corner:
As we can see, to create a new connection we have to drag the configuration file to the Configurations section. In our case it would be the <username>.ovpn file. We do it and a new connection will be created:
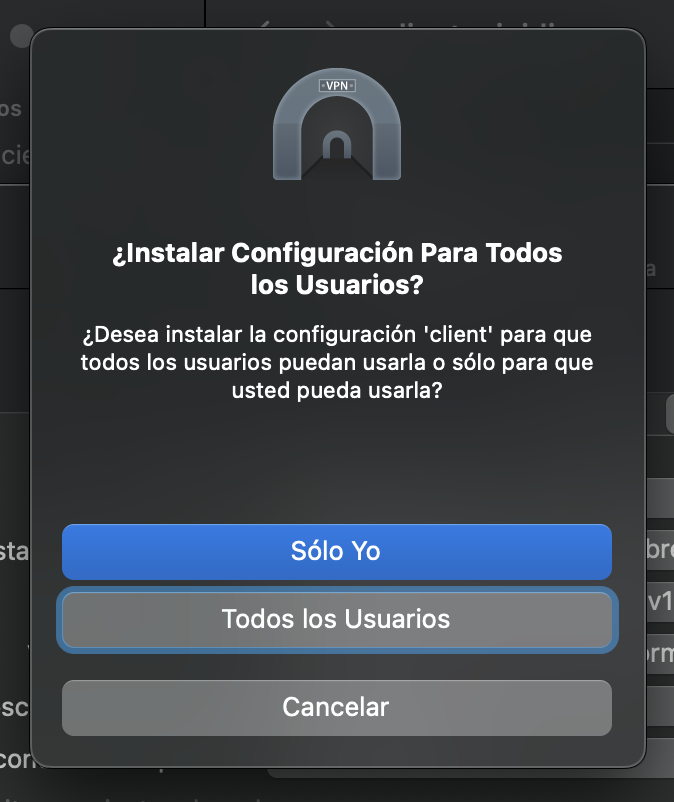
Depending on the computer we are working on, we may be interested in creating the connection only for our user or available to everyone. In this case, it will be only for our user, therefore, "Only me".
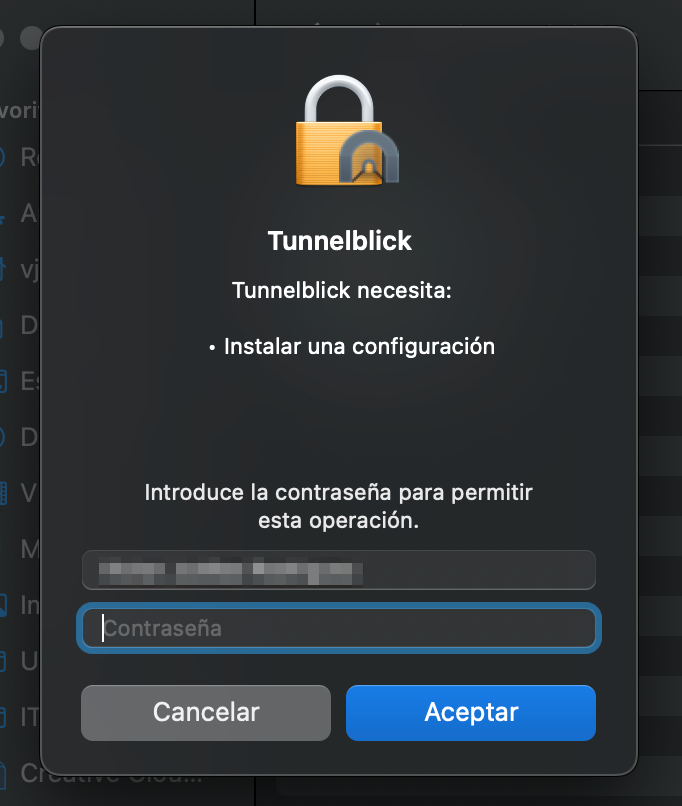
And it will ask us to enter the user's (of the computer) password to allow it to make changes:
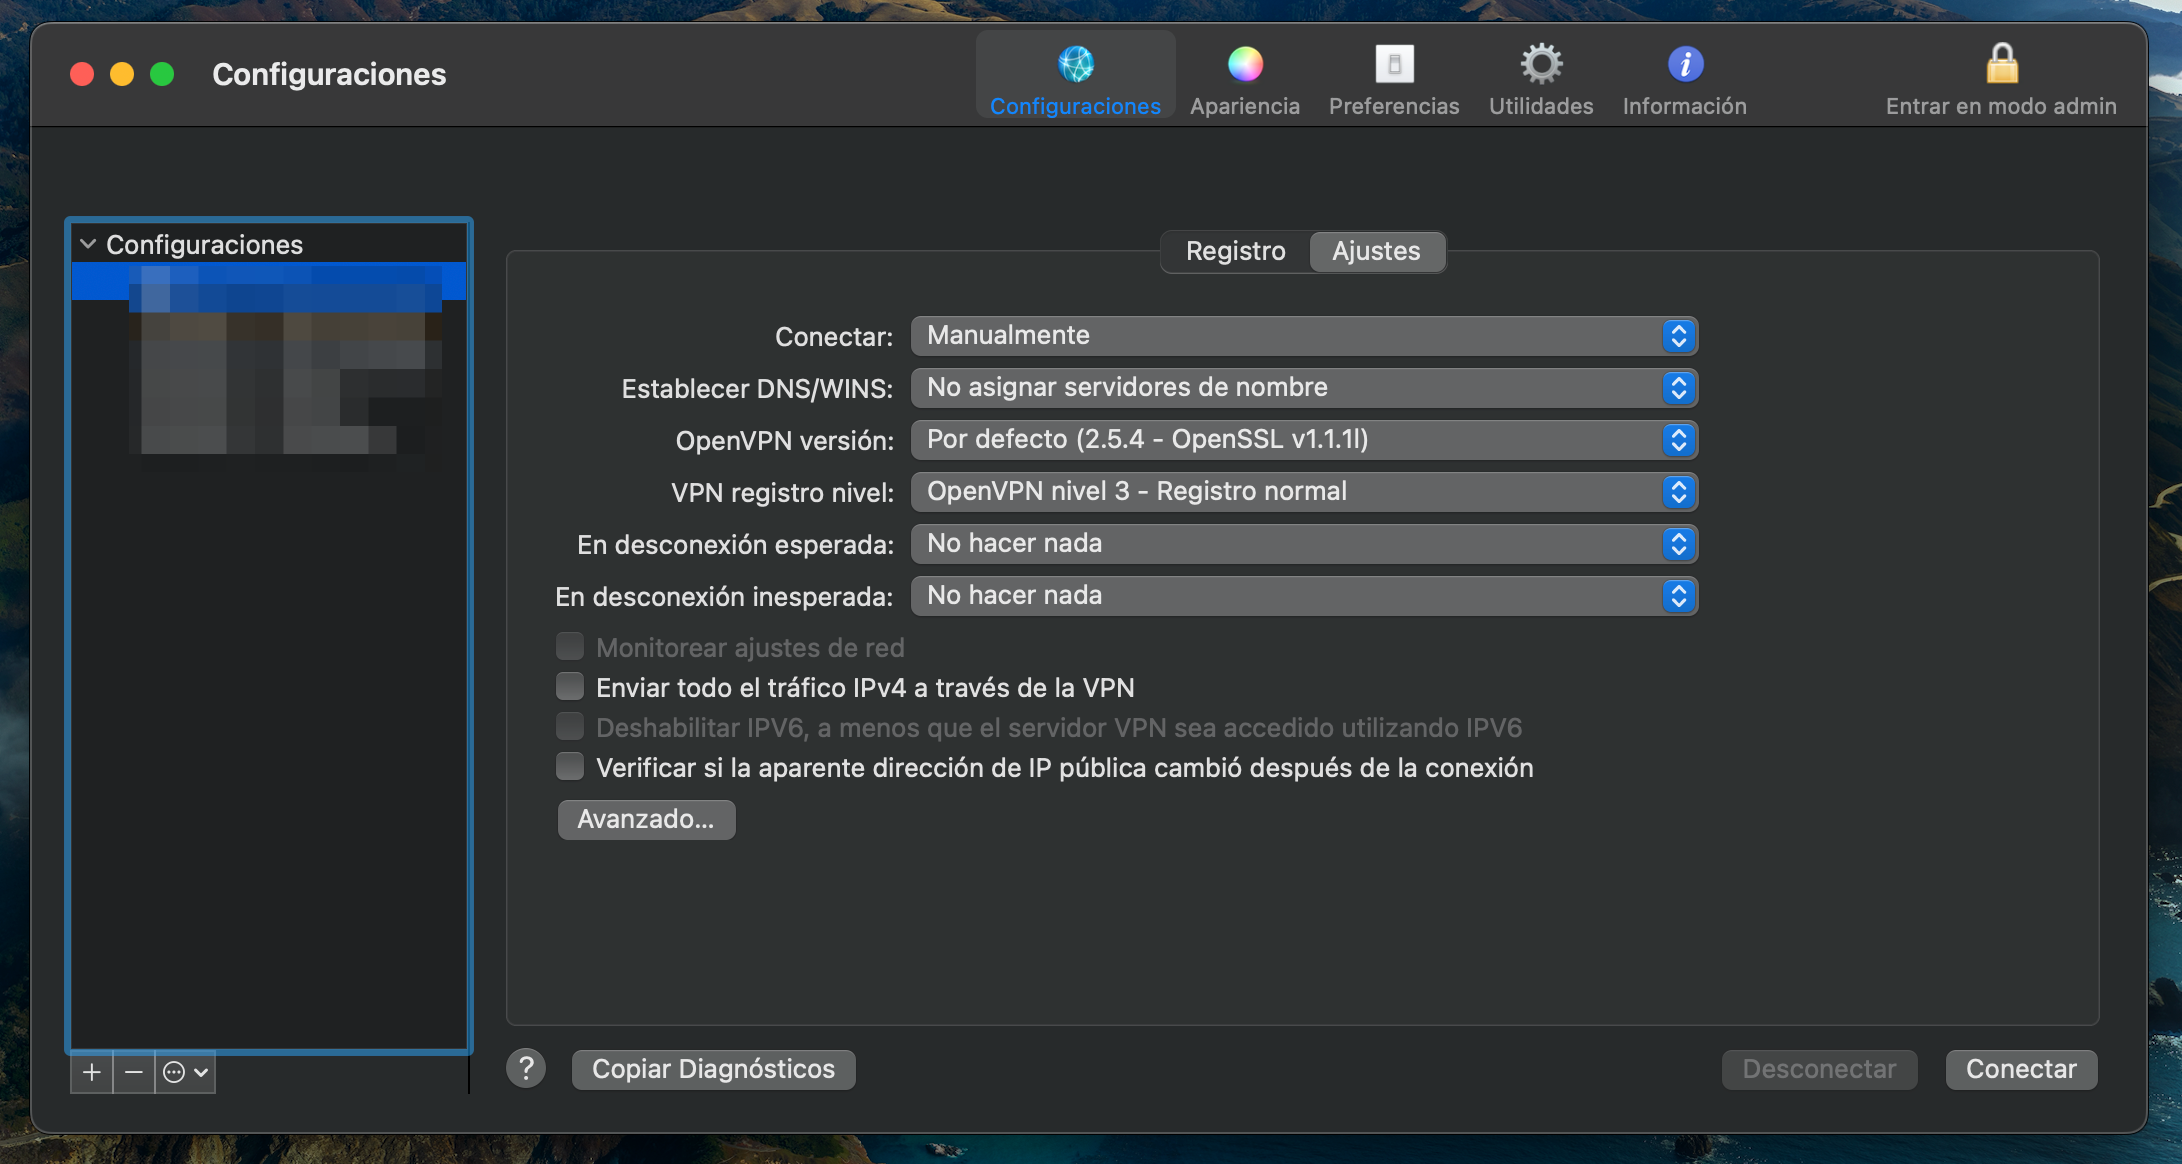
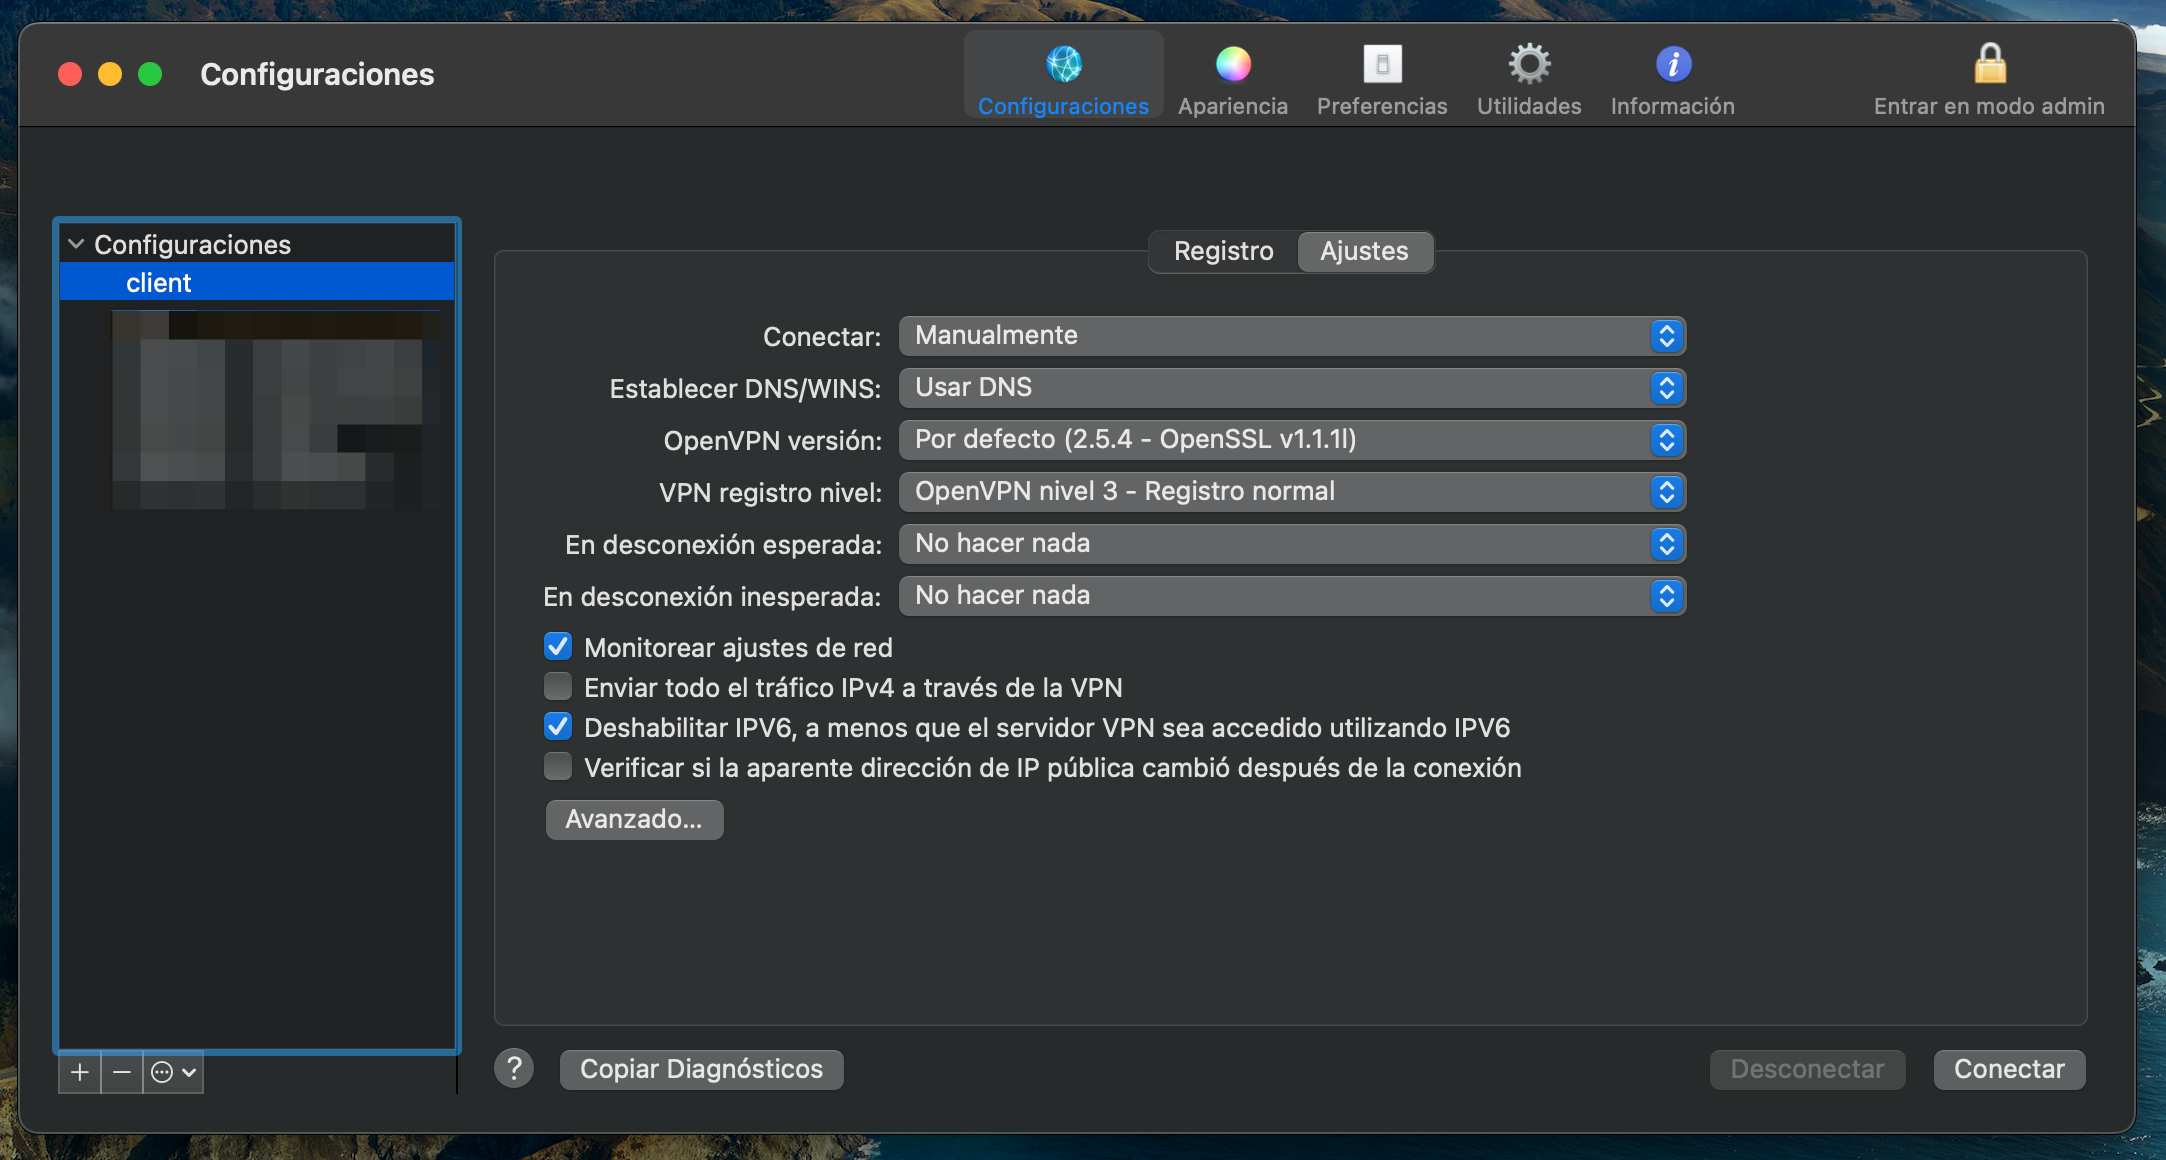
Once created, it will appear in the box on the left.
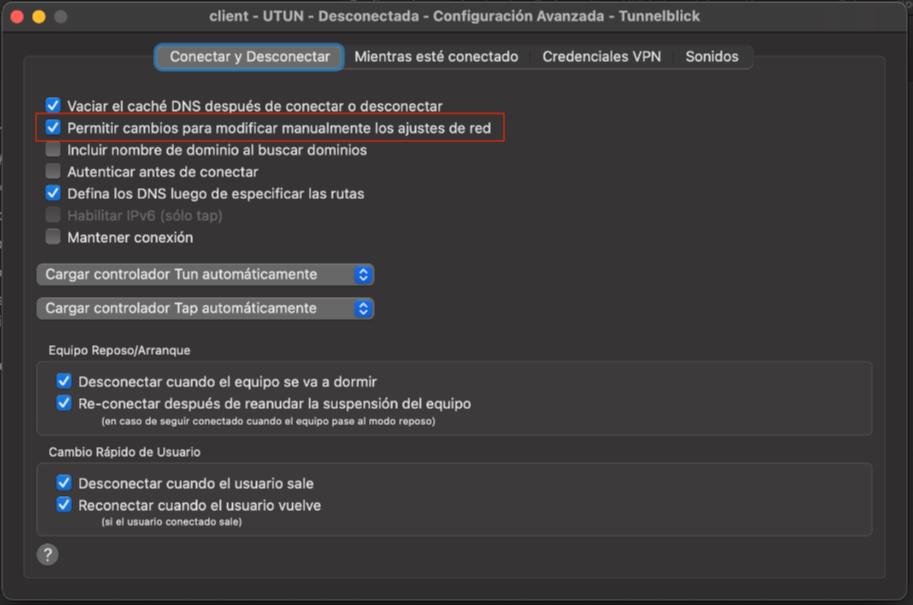
Una vez modificado la opciones avanzadas podemos "Conectar":
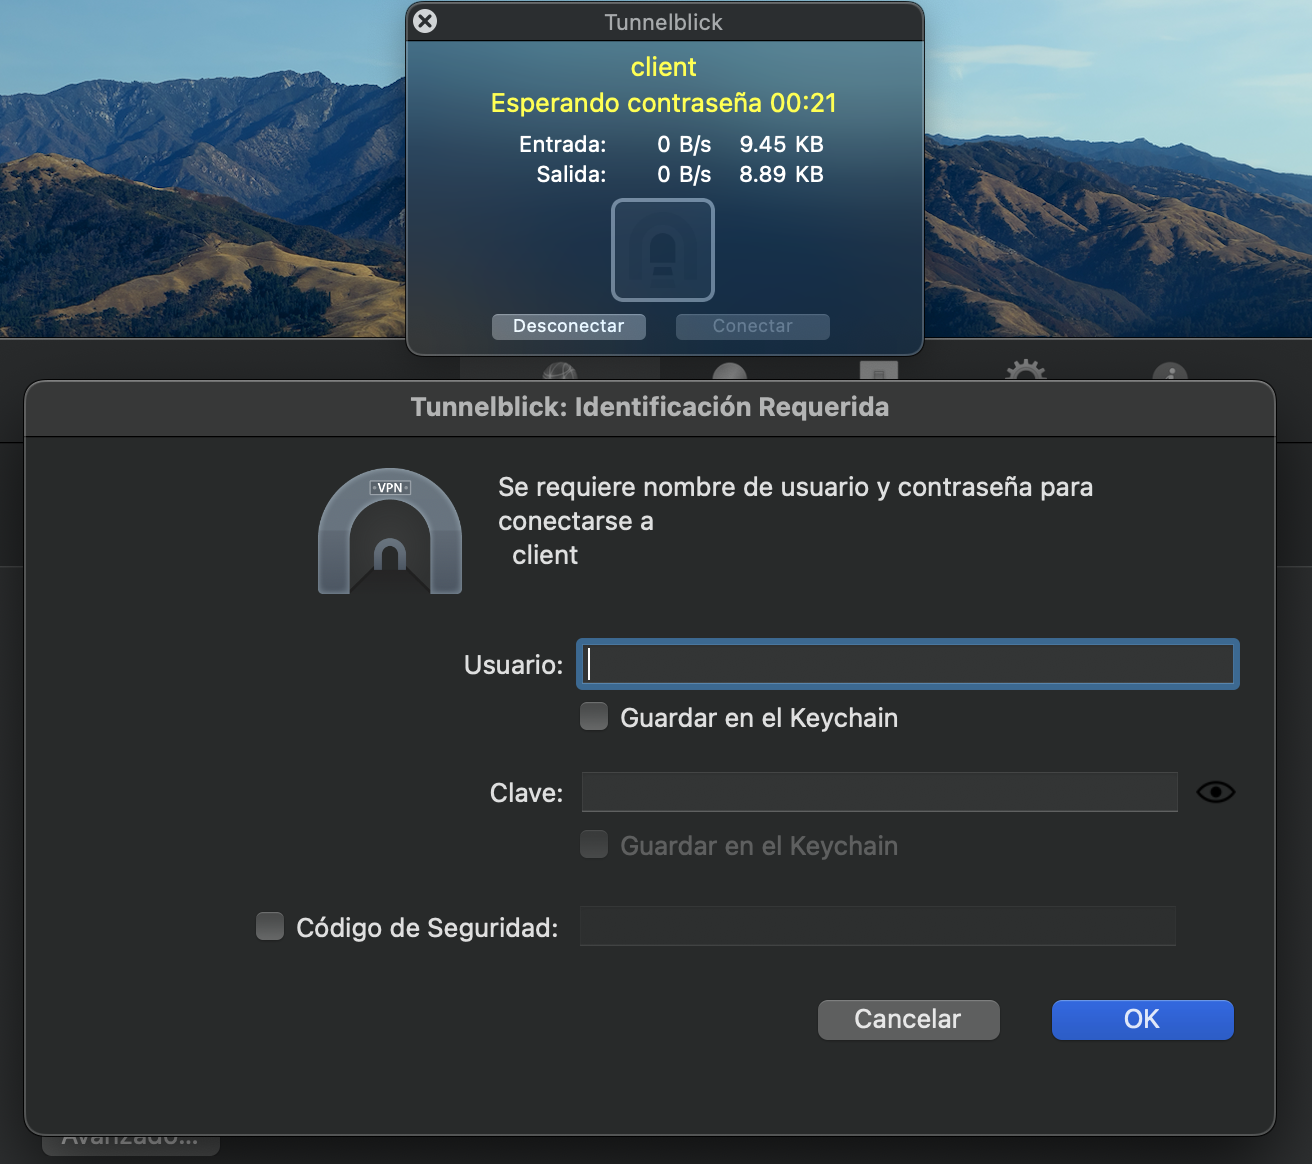
When you do so, you will be prompted to enter your VPN credentials, your username and password:
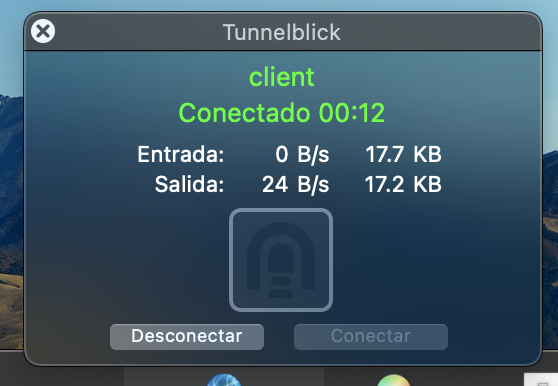
If we have entered it correctly and everything went well, we have successfully connected:
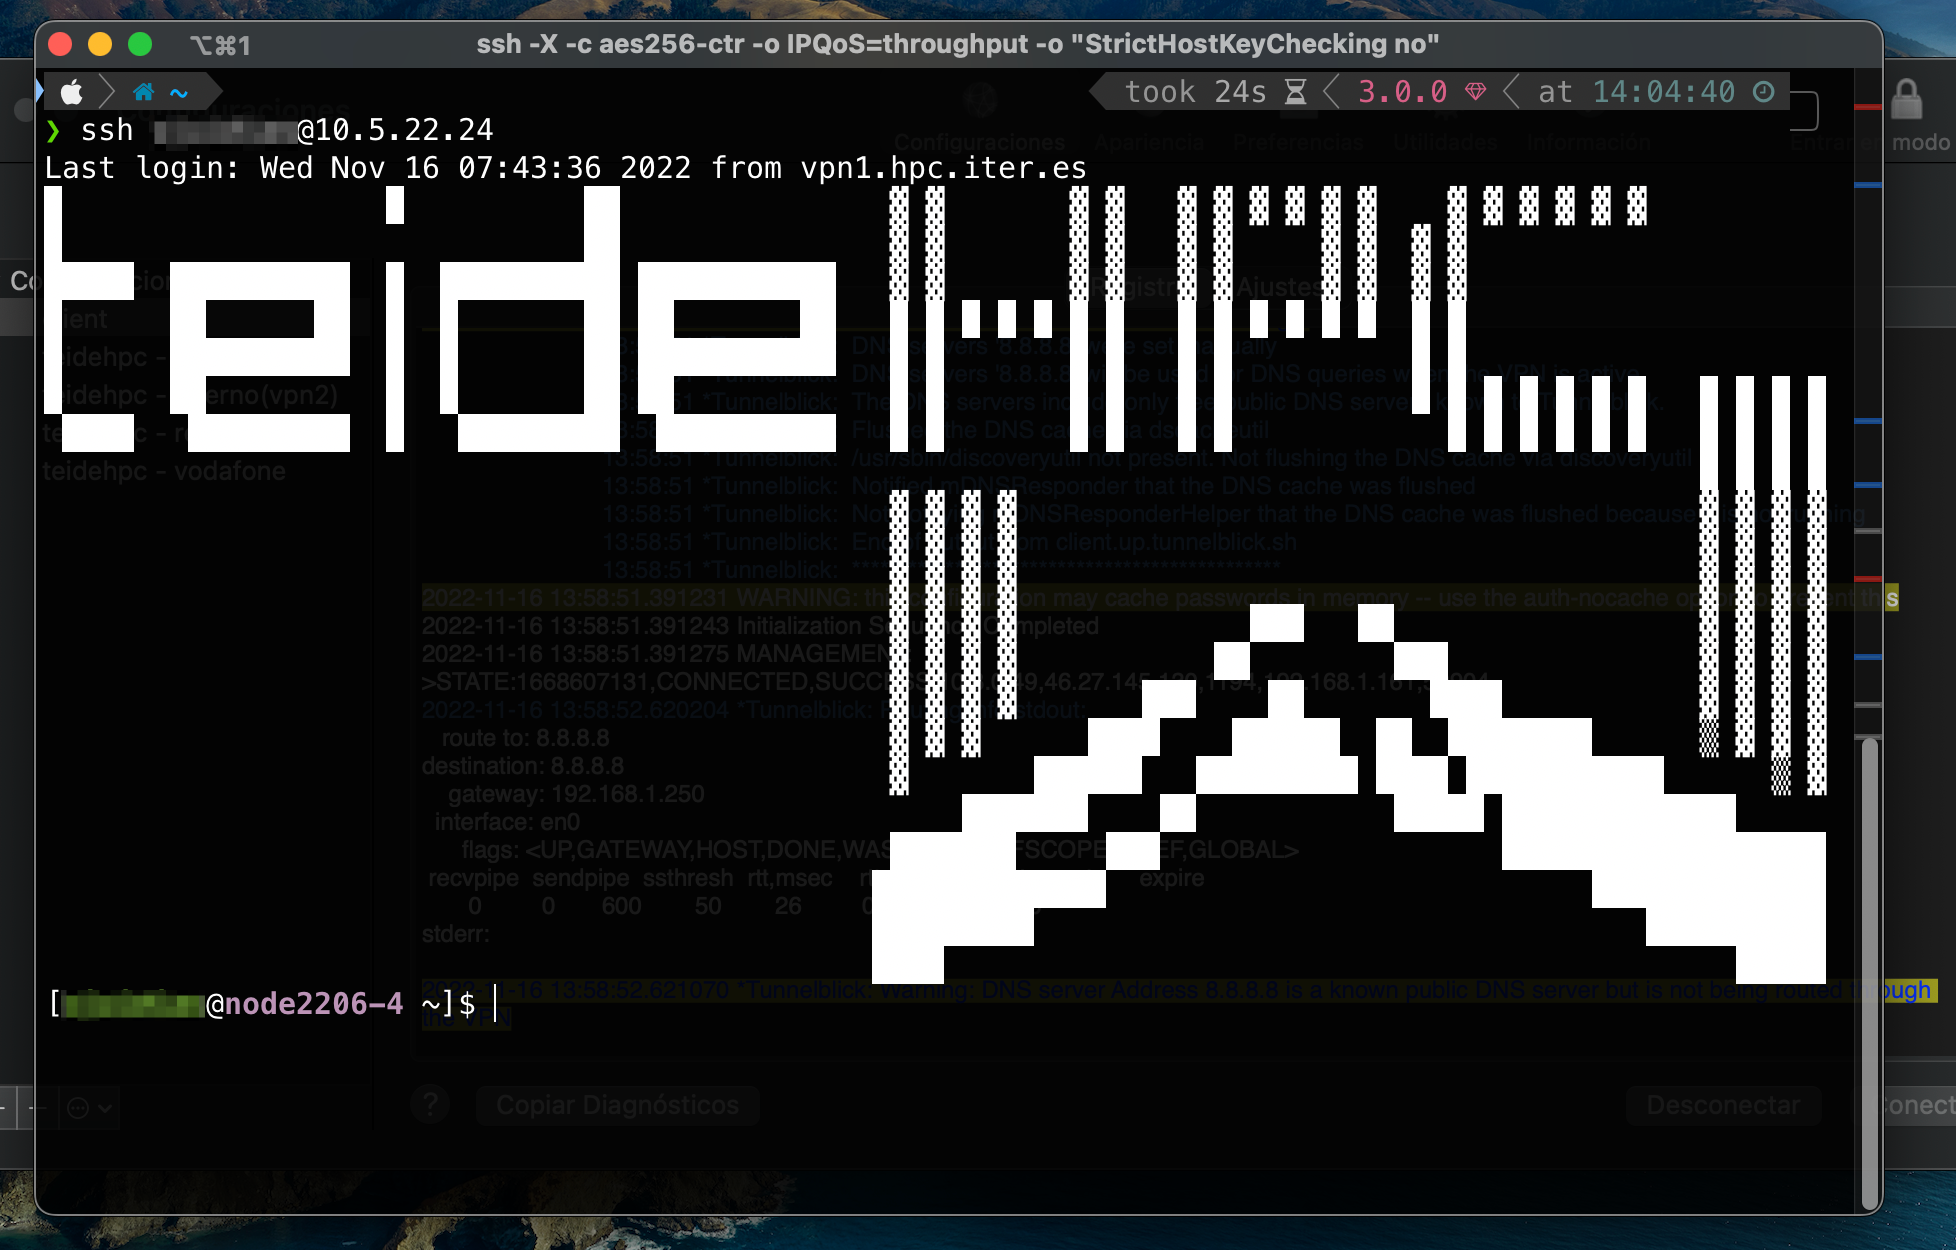
Once connected to the VPN, we can connect via SSH to the TeideHPC login node using the terminal:
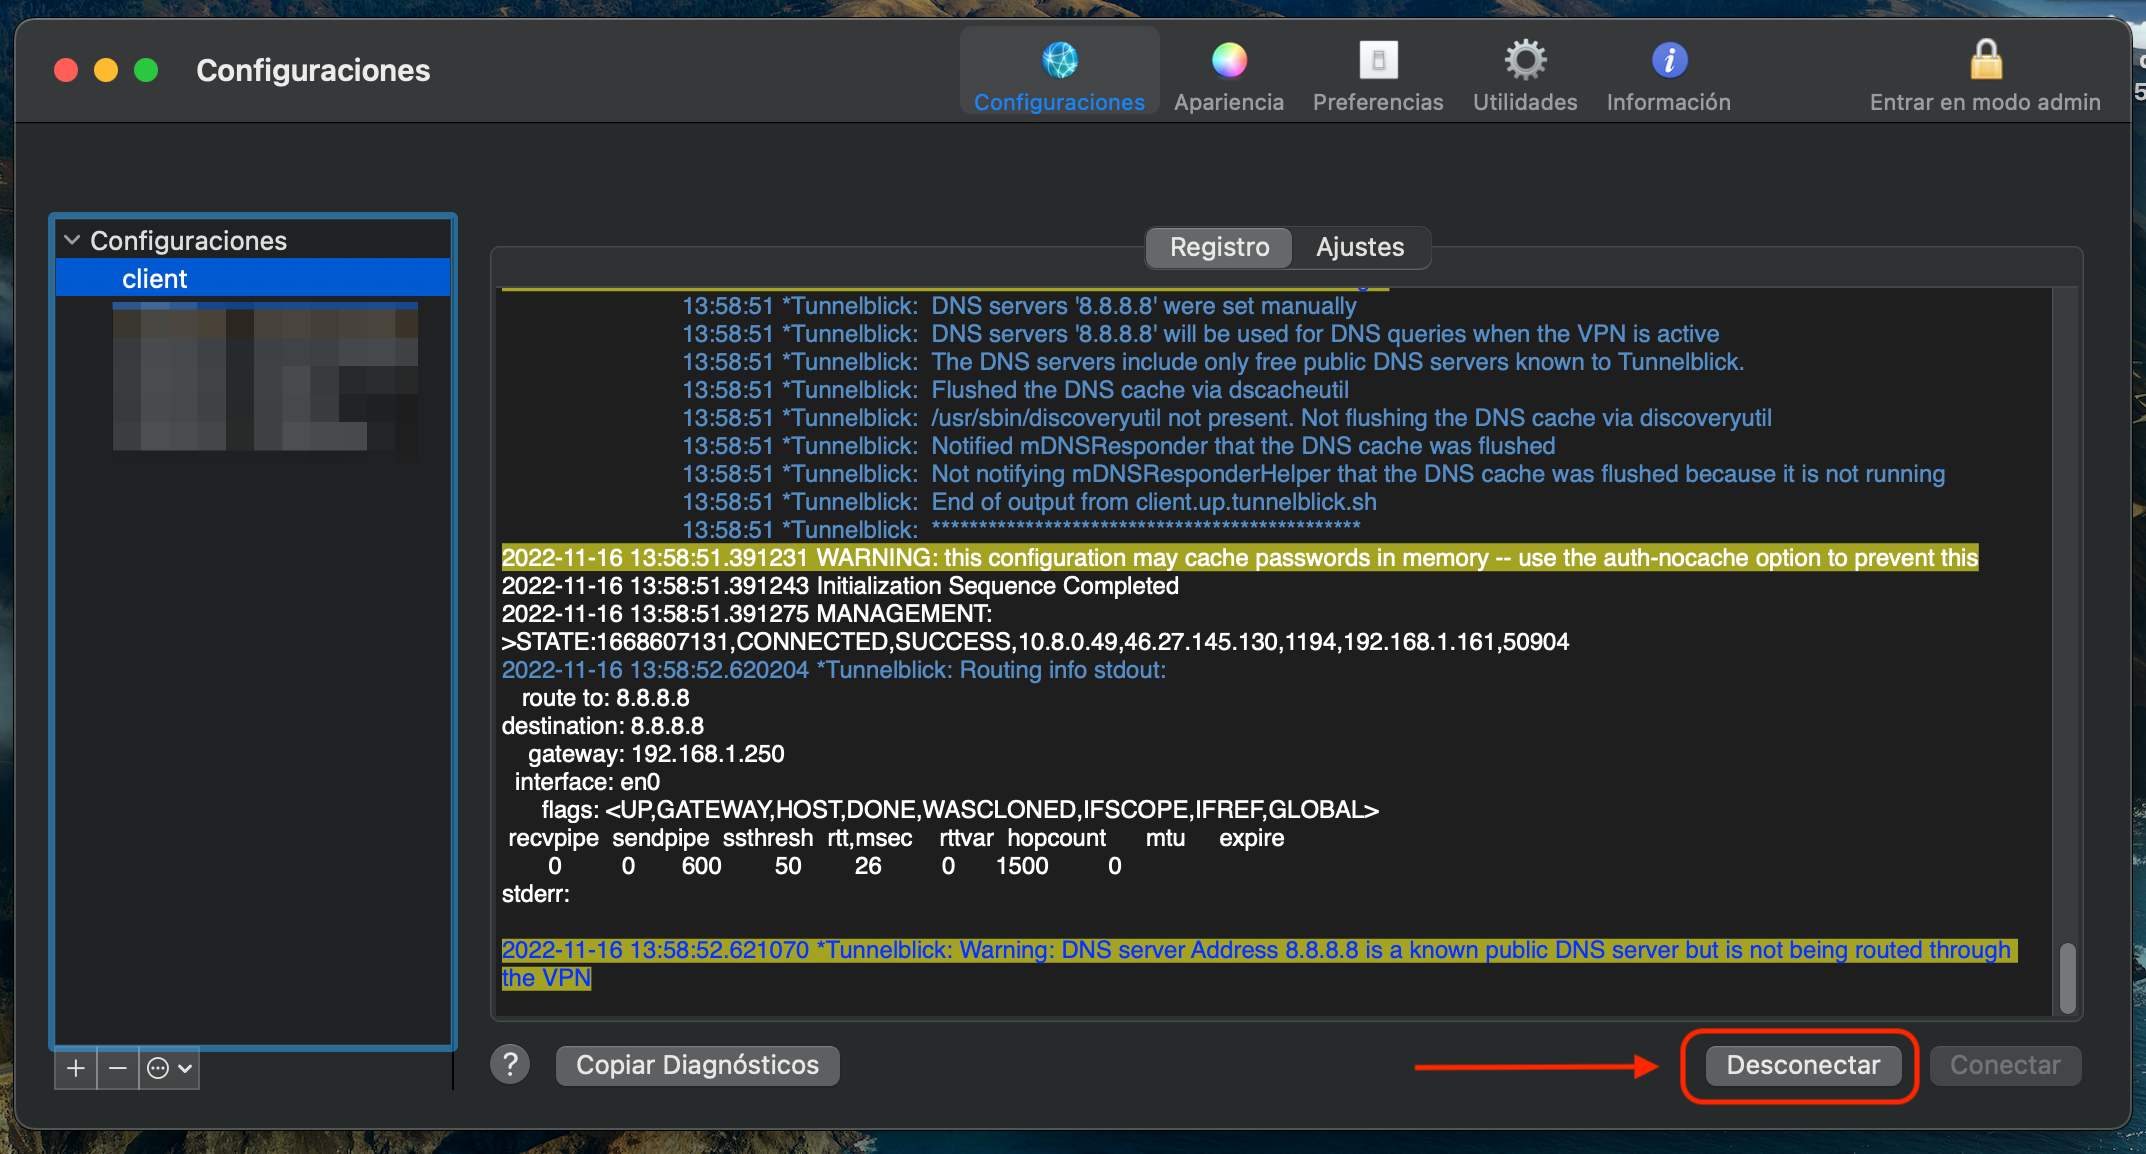
To disconnect, we can do it from the application itself or from the application icon on the top bar:
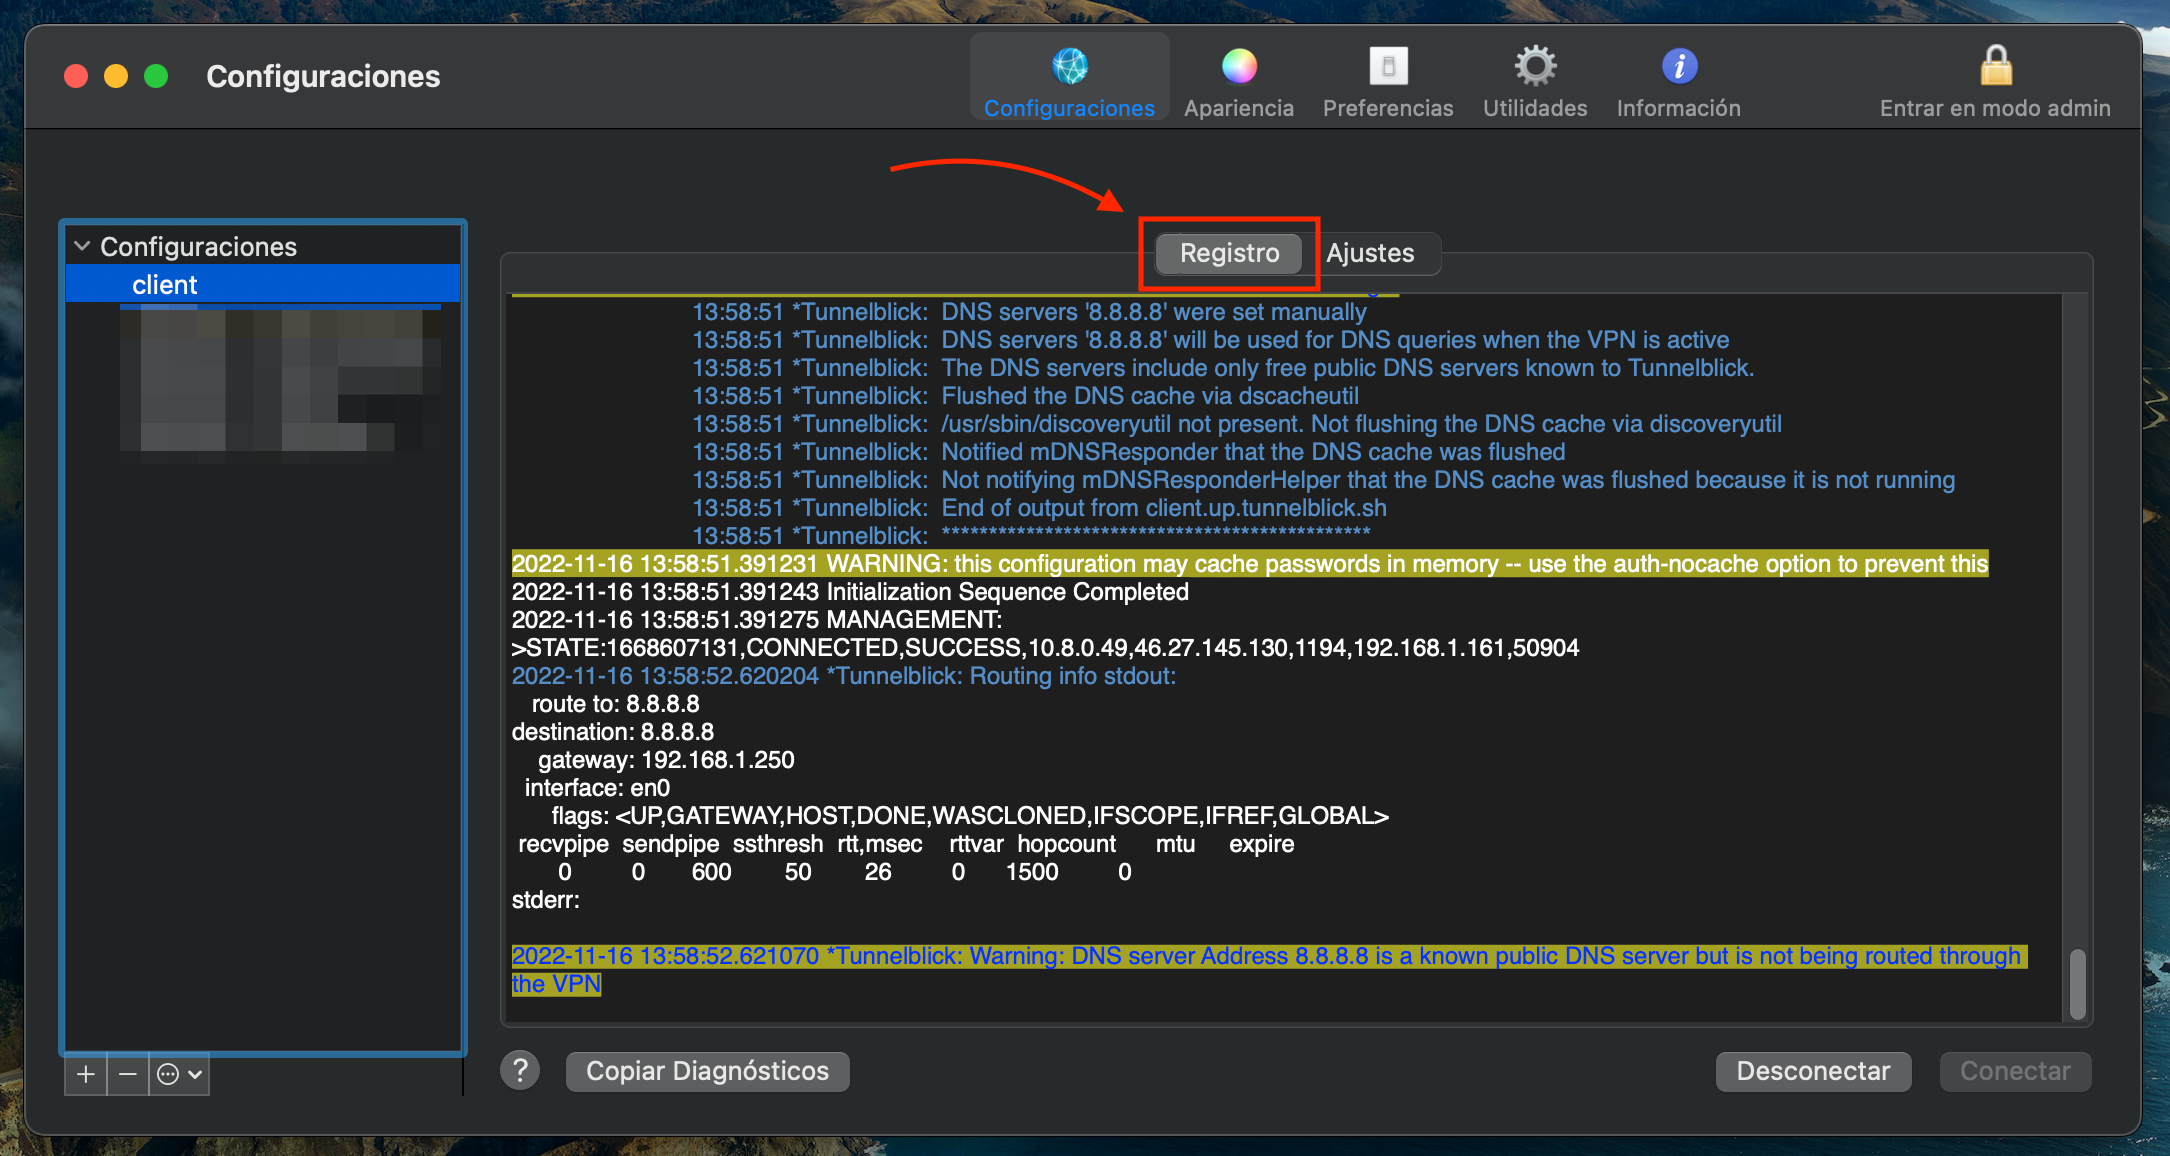
In case of connection problems, the "Logging" tab is available to view connection messages and debug a possible problem.
